Imagine spending a weekend assembling your new shed, only to get a notice from your county that it's too close to the property line or that you skipped a required permit. It happens more than you'd think across Kentucky and Ohio, and it costs homeowners real time and money. According to Louisville shed rules, sheds over certain size thresholds trigger setback requirements of 3 to 5 feet from property lines, and some cities require permits even for smaller structures. This guide walks you through every stage of shed installation in Kentucky and Ohio, from planning and permits to assembly, customization, and long-term care, so you get it right the first time.
Table of Contents
- Planning your shed: Codes, permits, and design essentials
- Gathering materials, tools, and choosing the right foundation
- Step-by-step shed setup: Building walls, roof, and assembly
- Customization and finishing touches: Doors, windows, and storage
- Verifying installation and long-term maintenance
- Get expert support for your next shed project
- Frequently asked questions
Key Takeaways
| Point | Details |
|---|---|
| Check local codes | Always review permit and setback requirements before buying or building a shed. |
| Foundation is critical | A properly prepared, level foundation ensures your shed’s stability for years. |
| Follow step-by-step build | Breaking the build into clear, logical steps prevents costly errors and rework. |
| Personalize with smart upgrades | Small add-ons like shelves and reinforced doors greatly boost your shed’s value and utility. |
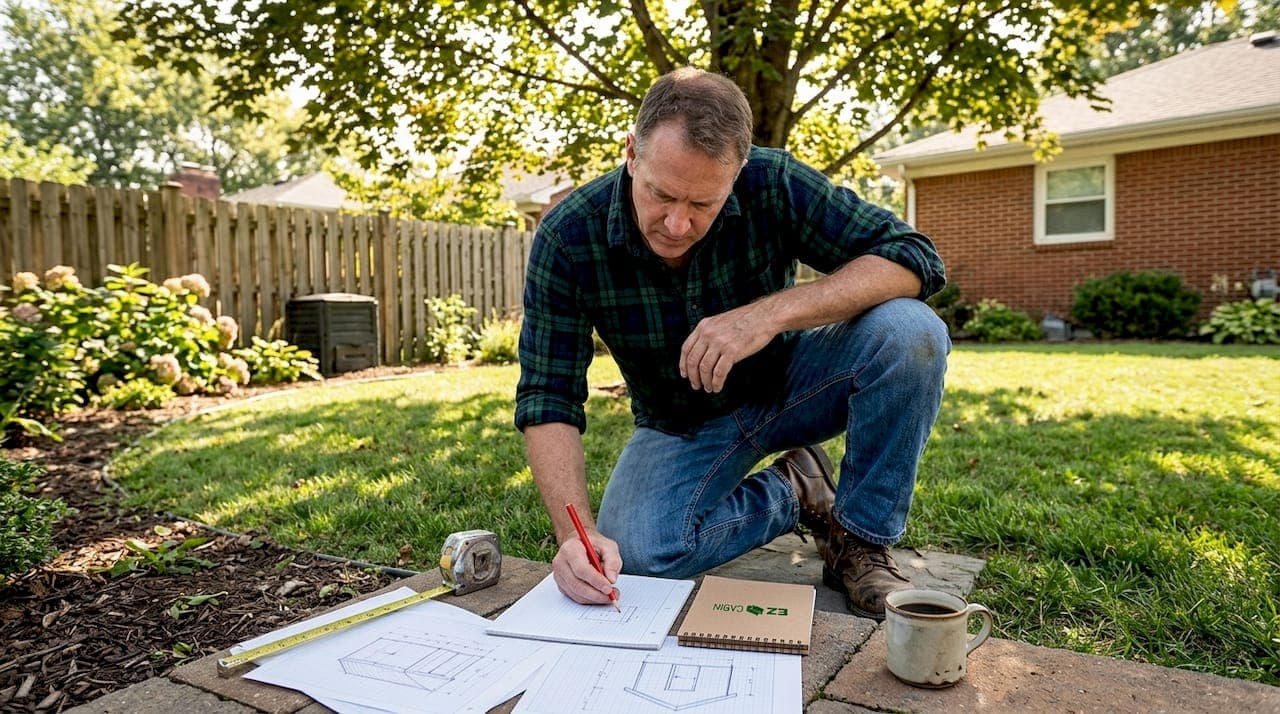
Planning your shed: Codes, permits, and design essentials
Before you buy a single board or bolt, you need to understand what your local government allows. Kentucky and Ohio are not uniform on this. Rules shift from city to city, and sometimes block to block.
Here's what typically triggers a permit or setback requirement in this region:
- Sheds over 120 sq ft in many Ohio townships require a zoning permit
- Sheds over 200 sq ft in Louisville require a building permit with a site plan
- Local shed rules in Cincinnati require a formal application and site plan regardless of size
- Most jurisdictions require setbacks of 3 to 5 feet from property lines and fences
- Sheds cannot be used as living spaces in either state
- You may still need a zoning permit even if a building permit is not required
Important: Skipping permits in Cincinnati or Louisville can result in fines, forced removal, or complications when selling your home. A quick call to your local planning office takes 10 minutes and can save you thousands.
When it comes to structure type, the choice between prefab and stick-built affects how you handle code compliance too. Here's a quick comparison:
| Feature | Prefab shed | Stick-built (DIY) |
|---|---|---|
| Build time | 1 day to 1 week | 1 to 3 weekends |
| Code compliance | Often pre-engineered | Requires your own plans |
| Cost | Moderate to high | Lower upfront |
| Customization | Limited to options | Fully flexible |
| Permit documentation | Easier with spec sheets | Requires hand-drawn site plan |
For a deeper look at how a shed vs garage comparison affects your permit path, it's worth reviewing before you commit to a size.
Pro Tip: Always check with your local planning office before starting. Regulations can change block to block, and what applied to your neighbor's shed two years ago may not apply to yours today.
Gathering materials, tools, and choosing the right foundation
With your plan in place, let's make sure you have the right tools and a stable base for your shed. This step is where most DIY projects either succeed or quietly start to fail.
Materials and tools you'll need:
- Pressure-treated lumber (floor joists and sill plates)
- Steel panels or wood siding depending on your shed style
- Galvanized fasteners, joist hangers, and structural screws
- Roofing felt, drip edge, and shingles or metal roofing
- Circular saw, drill, speed square, tape measure, and a 4-foot level
- Safety gear: gloves, eye protection, and steel-toed boots
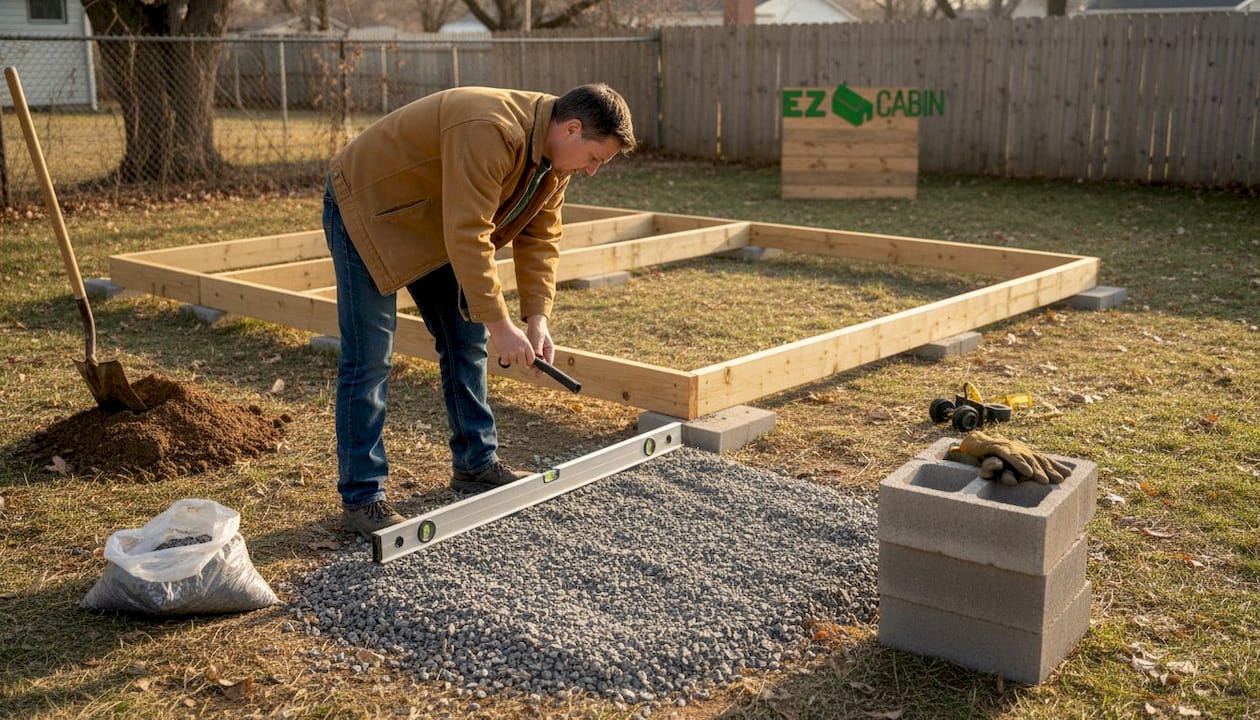
Foundation choice is the single biggest factor in how long your shed lasts. Poor foundation prep is the starting point for over 60% of shed failures in this region. Kentucky's clay-heavy soils shift with moisture, and Ohio's freeze-thaw cycles can heave a poorly anchored base out of level within two winters.
| Foundation type | Avg. cost | Best use case | Install time |
|---|---|---|---|
| Gravel pad | $50 to $200 | Flat yards, good drainage | 2 to 4 hours |
| TuffBlocks or deck blocks | $80 to $300 | Slightly sloped ground | 3 to 5 hours |
| Concrete slab | $500 to $1,500 | Permanent, heavy-use sheds | 1 to 2 days |
| Concrete piers | $200 to $600 | Steep slopes, soft soil | 4 to 8 hours |
For portable building options that skip the foundation headache entirely, skid-mounted structures are worth considering. They sit on treated runners and can be repositioned if needed.
Pro Tip: On sloped ground in Kentucky, concrete piers or heavy-duty deck blocks add long-term stability that gravel simply cannot match. Spend the extra $150 now and avoid releveling every spring.
If you're comparing frame styles, steel-framed sheds like Tuff Shed use 16-inch stud spacing for added rigidity, while wood-framed options like Heartland use 24-inch spacing for easier DIY work and lower cost. Understanding shed construction terminology like stud spacing and joist sizing helps you make smarter material choices before you buy. For seasonal maintenance advice that starts at the foundation level, the University of Georgia Extension offers solid guidance applicable to similar climates.
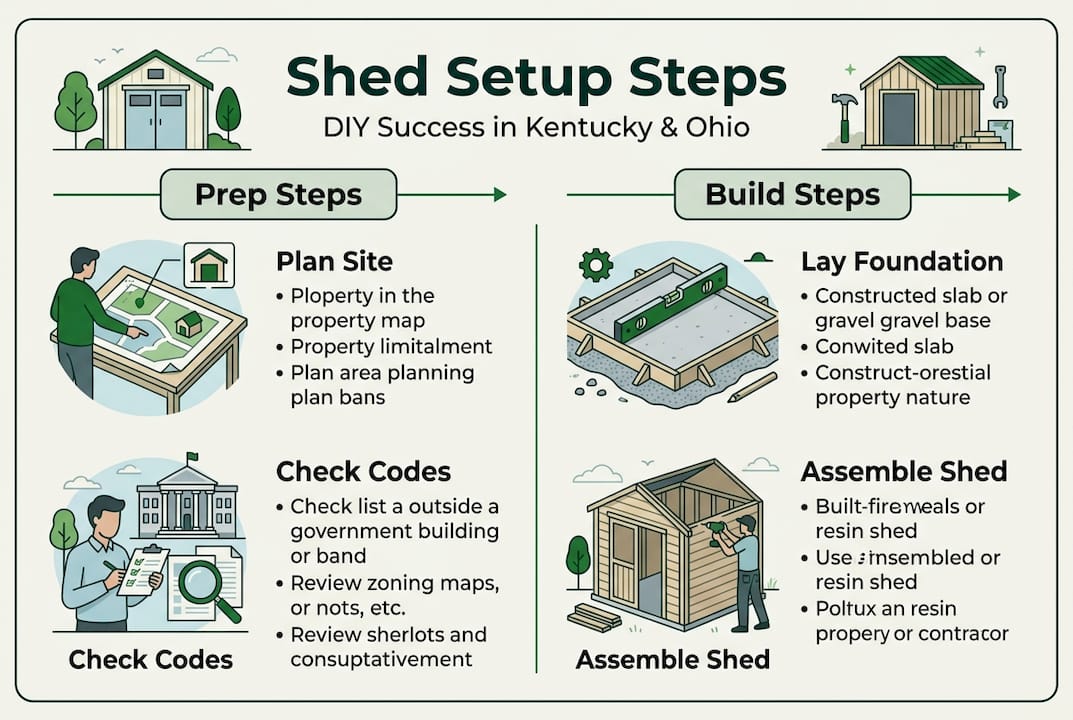
Step-by-step shed setup: Building walls, roof, and assembly
Now you're ready for hands-on work. Here's exactly how to assemble your shed safely and efficiently, whether you're working from a prefab kit or building from scratch.
- Set and level your foundation. Place your gravel, blocks, or pour your slab. Check level in all directions before moving on. Even a quarter-inch off now becomes a major headache at the roof line.
- Build or place the floor frame. For DIY, use pressure-treated 2x6 joists on 16-inch centers. For prefab, follow the manual's floor panel sequence exactly. Check for square by measuring corner to corner diagonally.
- Frame or assemble the walls. DIY builders: frame walls flat on the ground, then tilt them up and brace temporarily. Prefab builders: match panel labels carefully. Prefab shed advantages include pre-cut panels that reduce measuring errors significantly.
- Install wall sheathing and wrap. Apply house wrap or felt paper before siding goes on. This moisture barrier is non-negotiable in Ohio and Kentucky's wet springs.
- Frame the roof. For a gable roof, cut rafters to your pitch angle and nail them to a ridge board. For prefab, assemble roof panels per manual and check that gable ends are plumb before fastening.
- Install roofing. Lay felt paper from the bottom up, overlapping each row by 6 inches. Add drip edge, then shingles or metal panels. Seal all penetrations with roofing caulk.
- Install doors and trim. Hang doors while the frame is still accessible. Check for plumb and adjust hinges before final fastening.
Safety warning: Ensure all power tools are unplugged or powered off before adjusting blades, bits, or guards. Never reach under a running saw to clear debris.
Pro Tip: Pre-assemble roof panels on the ground and lift them into place with two or more people. Trying to nail rafters while balancing on a ladder is how injuries happen and how roofs end up crooked.
Customization and finishing touches: Doors, windows, and storage
Once your basic structure is complete, finishing touches make the shed truly suited to your needs. This is where the fun starts.
Popular upgrades worth adding:
- Windows on the south or east wall bring in natural light without adding heat in summer
- Reinforced doors with a deadbolt or hasp lock improve security for tools and equipment
- Built-in shelving along the back wall keeps the floor clear and doubles usable space
- A ramp at the door threshold makes rolling in mowers, wheelbarrows, or carts effortless
- Wall hooks and pegboards turn blank wall space into organized tool storage
- A workbench along one wall creates a dedicated project space
DIY kits allow personalization but prefab sheds are faster to finish. Either way, custom doors, shelving, and window add-ons boost usability dramatically. If you're thinking bigger, check out man cave shed ideas for layout inspiration, or browse small building customization options that fit a range of budgets.
Pro Tip: Pre-paint or stain all trim pieces before you install them. You'll get cleaner edges, better coverage on end grain, and you won't be trying to cut in paint around door frames after the fact.
Verifying installation and long-term maintenance
Before you relax, take a few moments to check your work and set up a long-term maintenance routine. A shed that's built right but never maintained won't last 10 years. One that's built right and maintained can last 30.
Final installation checks:
- Measure diagonally corner to corner on the floor and roof. Both measurements should match within a quarter inch.
- Check that all walls are plumb using a 4-foot level on each corner.
- Verify all anchor bolts or tie-downs are torqued to spec, especially if you're in a high-wind area.
- Confirm your setback distances with a tape measure and compare to your permit or zoning approval.
- Walk the roof line and check that all flashing, drip edge, and caulk are fully sealed.
Annual maintenance checklist:
- Inspect and re-caulk around all windows and door frames
- Clear debris from the roof and check for lifted or cracked shingles
- Tighten any loose fasteners on hinges, door hardware, and wall panels
- Re-check foundation level and look for signs of settling or heaving
- Treat any bare wood with sealant or paint to prevent rot
- Check gutters or drip edges for blockage after fall leaf season
Seasonal maintenance extends shed life to 20 or more years when you verify foundation stability, fastener tightness, and roof integrity every year. Also keep future upgrades in mind. Adding electricity or converting your shed to a workspace may require a separate permit, so check with your local zoning office before making changes. For ongoing shed maintenance tips that cover both interior and exterior care, we've got you covered.
Get expert support for your next shed project
For readers ready to expand their DIY ambitions or who want a professional-grade starter kit, EZ-Cabin makes the process straightforward. Whether you're planning a storage shed, a backyard office, or a full portable building, having the right structure from the start saves you hours of rework.
You can customize your own shed using our AI-powered design tool, adjusting colors, doors, windows, and layouts in real time before you buy. Browse the full shed and portable building catalog to find a structure that fits your yard and your budget. And if upfront cost is a concern, our financing options require no credit check and only the first month's payment to get started. Most buildings are delivered within 1 to 4 weeks, so your project doesn't have to wait.
Frequently asked questions
Do I need a permit for a shed in Kentucky or Ohio?
Most sheds under 200 sq ft require only setback compliance, but always check your local town or county for specific requirements since Cincinnati and other cities may require a formal application regardless of size.
What's the best foundation option for a new shed?
Gravel works well for flat yards with good drainage, but concrete or heavy-duty blocks offer more stability on slopes or in areas with soft, clay-heavy soil like much of Kentucky.
Can I convert my shed into a tiny home in KY/OH?
Local rules prohibit using a shed as a living space in both states, but you can fully customize it for non-habitation uses like a home office, studio, or workshop.
How do I keep my shed safe from water damage?
Choose a level, well-drained location, use a moisture barrier under your floor frame, and inspect annually for leaks, ground settling, or lifted flashing before small issues become expensive repairs.