TL;DR:
- Building a backyard home office cabin requires careful planning, permitting, and site selection to ensure longevity and functionality. Proper foundation choice, interior layout, and technology wiring are essential for a productive, comfortable workspace. Skipping planning steps often leads to costly issues, so focus on practicality and long-term maintenance for a successful build.
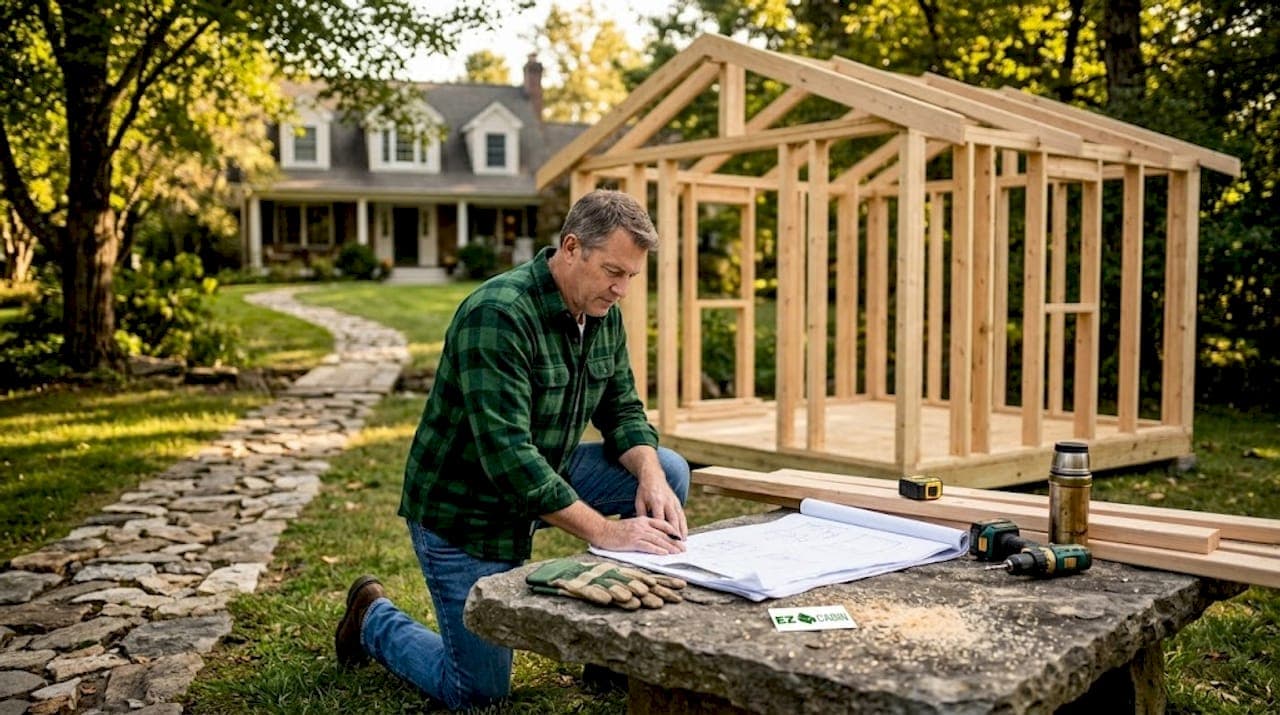
Building a dedicated workspace in your backyard sounds simple until you're standing in a lumber yard with no plan. This step by step home office cabin guide walks you through every stage of the process, from choosing your site and pulling permits to framing walls and setting up a workspace that actually supports focused, productive work. Whether you're tackling a full home office cabin DIY build or exploring pre-built options, the decisions you make in the first few weeks determine whether your cabin becomes your most productive space or your most expensive regret.
Table of Contents
- Key takeaways
- Planning your home office cabin step by step
- Construction from foundation to exterior
- Interior setup for productivity
- Final checks and long-term maintenance
- What I've learned from real home office cabin builds
- Ready to build your cabin office with Ez-cabin
- FAQ
Key takeaways
| Point | Details |
|---|---|
| Permits first, always | Verify local zoning and building codes before spending a dollar on materials to avoid costly rebuilds. |
| Foundation drives longevity | Choosing the right base for your soil and drainage conditions prevents structural problems down the road. |
| Interior setup shapes output | Ergonomic furniture, smart lighting, and clean cable management directly affect how well you work each day. |
| Maintenance is non-negotiable | Annual sealing, weatherproofing checks, and routine inspections keep your cabin functional for decades. |
| Pre-built cabins save time | Configured, delivered structures cut months off your timeline without sacrificing quality or customization. |
Planning your home office cabin step by step
The most important work you do on this project happens before you ever swing a hammer. Skipping the planning phase is what turns a six-week build into a six-month headache.
Picking the right location
Walk your yard at different times of day before choosing your cabin site. You want a spot that gets natural light from the north or east in the morning when most people do their best thinking, while avoiding afternoon glare directly on your monitor. Distance from the house matters too. Far enough to reduce household noise, close enough that running electrical and internet cables stays affordable.
Consider the ground itself. Areas that pool water after rain are problematic regardless of which foundation you pick. Sloped ground is workable but requires more site prep. A flat, well-drained area gives you the most foundation options and the least groundwork expense.
Sizing and layout based on actual use
A solo focused work cabin needs far less square footage than people assume. For one person with a desk, storage, and a small seating area, 100 to 140 square feet is genuinely comfortable. If you host video calls with virtual backgrounds, a clean 8x12 footprint works well. If you need a standing desk, printer space, or a small meeting area, step up to 12x16.
When designing a home office cabin, sketch your furniture placement before finalizing dimensions. Many builders size the structure first, then realize their chosen desk and chair arrangement doesn't fit the door swing.
Permits, zoning, and the rule you cannot skip
Local building codes affect nearly every small structure, including backyard office cabins. Height limits, setback distances from property lines, and foundation requirements vary significantly by county and municipality. Failing to verify codes before construction can force expensive rebuilds that exceed your original budget several times over.
Get written confirmation from your local planning authority, even if your structure is likely exempt. That documentation protects you if you sell the property or face a neighbor complaint later.
Budget planning
| Cost category | Low estimate | High estimate |
|---|---|---|
| Site prep and foundation | $500 | $3,500 |
| Materials or kit purchase | $3,000 | $12,000 |
| Electrical and internet | $800 | $3,000 |
| Interior finishing | $500 | $2,500 |
| Permits and inspections | $100 | $600 |
Add 15% to whatever total you calculate as a contingency. Supply costs shift, and first-time builders almost always encounter at least one unexpected expense. Explore cabin financing options early if budget is a constraint, as some buyers structure payments before the build even begins.
Pro Tip: Get three quotes for electrical work before starting the build. The range between the lowest and highest bid is often wide enough to fund your entire interior finishing budget.
Construction from foundation to exterior
Choosing your foundation
Foundation options for home office cabins typically fall into three categories: gravel pads with concrete blocks, reinforced decking platforms, and poured concrete slabs. Each suits different site conditions.
Gravel pads with adjustable piers work well on relatively flat ground and allow airflow underneath the structure. They're the most DIY-friendly option and easiest to level. Concrete slabs offer the most stability and are preferred in areas with high moisture, but they require professional forming and curing time. Reinforced deck platforms are a middle ground, solid enough for most climates and reversible if you ever need to move the structure.
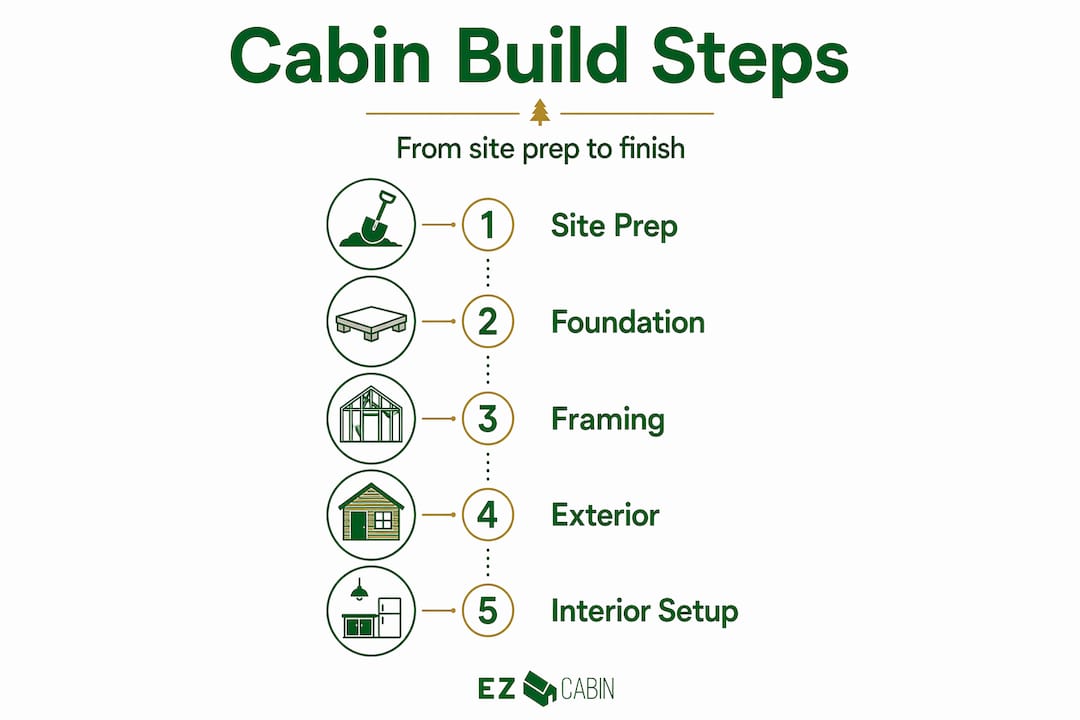
The build process, step by step
- Clear and grade your site. Remove sod, level the ground, and address drainage before anything else. Low spots will cause foundation settling later.
- Install your foundation. Let concrete cure fully before proceeding. For gravel pads, compact the base thoroughly before placing piers.
- Frame the floor. Use pressure-treated lumber for floor joists in contact with or near the ground. Standard framing lumber works for the wall and roof framing above.
- Frame walls and roof. Standard 2x4 framing at 16 inches on center works for most office cabin plans. Roof pitch affects both interior headroom and your ability to shed water and snow load.
- Install windows and door. Position at least one window to face the direction of your morning light. Rough openings must be framed square or doors and windows will stick and leak.
- Add insulation and sheathing. For a year-round office, use R-13 or better in walls and R-30 in the ceiling. This is the step most first-time builders underinvest in, and they regret it every winter.
- Apply exterior finish. LP SmartSide, cedar, and fiber cement board are all solid choices. Whatever you choose, prime all cut ends before installation to prevent moisture intrusion.
Sorting lumber by length and grouping hardware by type before you begin framing saves meaningful time and reduces costly measuring errors once you're on the build.
Pro Tip: Snap chalk lines on your subfloor before standing any walls. It takes ten minutes and eliminates guesswork when squaring up your layout.
If you're weighing a pre-built cabin against a scratch build, review backyard office construction considerations for Kentucky and Ohio climates specifically, since local weather patterns affect both material choices and foundation requirements.
Interior setup for productivity
Furniture that supports how you actually work
Ergonomic desk setup means your elbows rest at 90 degrees when typing, your monitor sits at eye level, and your chair provides real lumbar support. In a small cabin, a wall-mounted monitor arm recovers significant desk space and lets you adjust your screen without moving the desk itself.
Avoid oversized furniture. A 60-inch desk in a 120-square-foot cabin leaves no room to move. A well-organized 48-inch surface with a dedicated storage tower or shelf unit serves most remote workers better.
- Use a chair with adjustable armrests, seat depth, and lumbar support
- Position your monitor 20 to 28 inches from your eyes with the top of the screen at or slightly below eye level
- Add a footrest if your chair height leaves your feet unsupported
- Keep your most-used tools within arm's reach to reduce repetitive reaching strain
Lighting done right
Positioning desks near windows reduces eye strain and improves focus. Place your desk perpendicular to the window rather than facing it directly to eliminate glare on your screen. For artificial lighting, a combination of overhead ambient light and a dedicated task lamp on your desk prevents the harsh shadows that cause fatigue during long video calls.
Avoid relying on a single overhead fixture. Layered lighting gives you control over brightness throughout the day.
Technology and wiring
Run conduit during construction, not after. It costs almost nothing to install empty conduit in walls during framing, and it saves hours of fishing wires through finished walls later. Plan for at least six outlet locations: desk, printer area, secondary wall for equipment, and two on the opposite wall for flexibility.
For internet, a hardwired ethernet run from your home router to a wall jack inside the cabin gives you more reliability than any WiFi extender. If trenching cable underground isn't possible, a properly rated outdoor cable run along the structure works well.
Cable organizers and minimal desk surfaces improve both the appearance and functionality of your workspace, reducing the low-level mental friction that a cluttered environment creates.
Pro Tip: Install a dedicated 20-amp circuit for your cabin rather than splitting off an existing household circuit. It future-proofs the space for space heaters, desktop workstations, and any equipment upgrades.
For a deeper look at what makes a tiny home office work for full-time remote workers, the fundamentals apply whether you're in a new build or a configured cabin.
Final checks and long-term maintenance
Once construction wraps, a structured walkthrough protects your investment and catches issues before they become expensive repairs.
- Check all window and door seals by running water from a hose around frames while someone inspects inside for drips
- Test every outlet and light switch before finishing the interior walls completely
- Inspect roof flashing at all penetrations and edges, since this is where most roof leaks start
- Walk the perimeter and look for any gaps in the siding where insects or moisture could enter
- Verify that the floor is still level after foundation settling during construction
For ongoing care, applying UV-blocking exterior stain annually keeps wood siding protected and extends the visual life of your cabin significantly. Check caulk and sealant around windows and doors every spring. Look for any soft spots in the floor or walls that might indicate moisture intrusion.
Climate control needs ongoing attention too. If you're using a mini-split, clean filters monthly and schedule a professional service annually. Portable heaters and window AC units work for occasional use but will struggle to maintain comfortable working temperatures in extreme weather.
As your work changes, your cabin can adapt. Adding a second monitor arm, a standing desk converter, or upgraded shelving takes hours rather than days. Plan your interior with flexibility in mind from the start.
What I've learned from real home office cabin builds
I've seen a pattern in projects that go wrong, and it almost never comes down to construction skills. It comes down to impatience in the planning phase.
The builders who skip the permit verification step do it because it feels bureaucratic and slow. Then they finish a beautiful cabin, list their house for sale two years later, and discover a title issue that delays closing or requires a teardown. That fifteen-minute call to the local planning office would have prevented all of it.
What actually works in practice is treating the planning phase as the most skilled part of the entire project. Getting the site right, sizing the structure for real use rather than theoretical use, and running conduit and wiring proactively while walls are open. These are the decisions that make the finished cabin feel effortless to use.
On the aesthetics versus practicality debate: go practical first, every time. A beautiful exterior with poor insulation becomes an unusable room in January and August. Get the thermal envelope right, then worry about the cedar board and batten finish.
If you're considering a pre-built or configured structure rather than a full scratch build, there's no shame in it. A well-configured portable cabin delivered and set on a solid foundation gets you working months earlier than a DIY build, and the quality from reputable suppliers is genuinely good.
— Team
Ready to build your cabin office with Ez-cabin
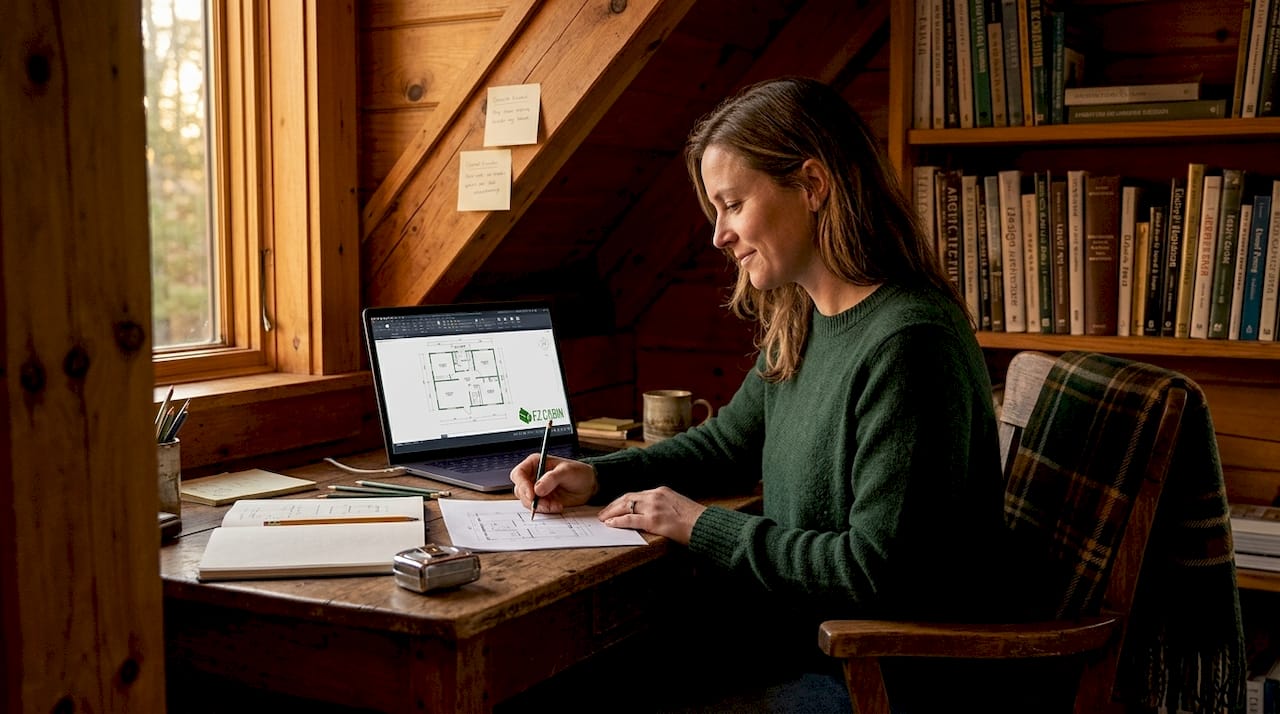
Ez-cabin makes it straightforward to go from idea to working cabin office without the typical delays. Using the real-time AI customization tools on the Ez-cabin website, you can adjust layouts, windows, doors, and exterior colors before you commit to anything.
With guaranteed financing approval and no credit check required, budget constraints don't have to stall your project. Most structures are delivered within one to four weeks. Start configuring your space with the build your own tool today, or explore pre-designed options that are ready to order now.
FAQ
Do I need a permit for a home office cabin?
Most jurisdictions require permits for structures above a certain square footage or with electrical work. Always get written confirmation from your local planning authority before starting, even for small structures.
What foundation works best for a backyard cabin office?
Gravel pads with concrete piers work well on flat, well-drained ground and are the most DIY-friendly. Concrete slabs offer the most stability but require professional installation and curing time.
How do I run internet to a detached cabin office?
A hardwired ethernet cable run underground in conduit from your home router is the most reliable solution. Outdoor-rated cable along the structure's exterior is a practical alternative when trenching isn't possible.
How long does it take to build a home office cabin?
A DIY scratch build typically takes six to twelve weeks depending on experience and weather. A pre-built portable cabin from a supplier like Ez-cabin can be delivered and set up within one to four weeks.
What size cabin do I need for a single home office?
For one person with a desk, storage, and basic seating, 100 to 140 square feet is comfortable and functional. Step up to 160 to 200 square feet if you need a standing desk, printer space, or occasional in-person meetings.