Overflowing tools, cramped holiday decorations, and little room to work are frustrations Kentucky and Ohio homeowners know too well. Deciding to expand your garage means more than just adding space, especially when you want flexible financing without a credit check. Taking the time to assess your current garage and set clear goals ensures your project starts right, balancing growing needs with a smooth, budget-friendly process from the start.
Table of Contents
- Step 1: Assess Your Current Garage And Set Goals
- Step 2: Design Your Expansion And Obtain Permits
- Step 3: Prepare Site And Secure Financing Options
- Step 4: Build The Garage Addition Step By Step
- Step 5: Inspect And Finalize Your Expanded Garage
Quick Summary
| Key Insight | Explanation |
|---|---|
| 1. Measure your current space | Accurate measurements establish a solid foundation and prevent costly mistakes in planning your garage expansion. |
| 2. Define your goals clearly | Setting specific, actionable goals allows you to prioritize, manage scope, and align your expansion with your needs. |
| 3. Research local building codes | Understanding local regulations ensures your expansion is compliant, prevents legal issues, and protects your investment. |
| 4. Prepare site thoroughly | Clear the area and assess soil conditions to avoid complications that could arise during construction and drainage issues later. |
| 5. Document each construction phase | Taking photos at inspection milestones provides proof of compliance and safeguards against future insurance or resale challenges. |
Step 1: Assess Your Current Garage and Set Goals
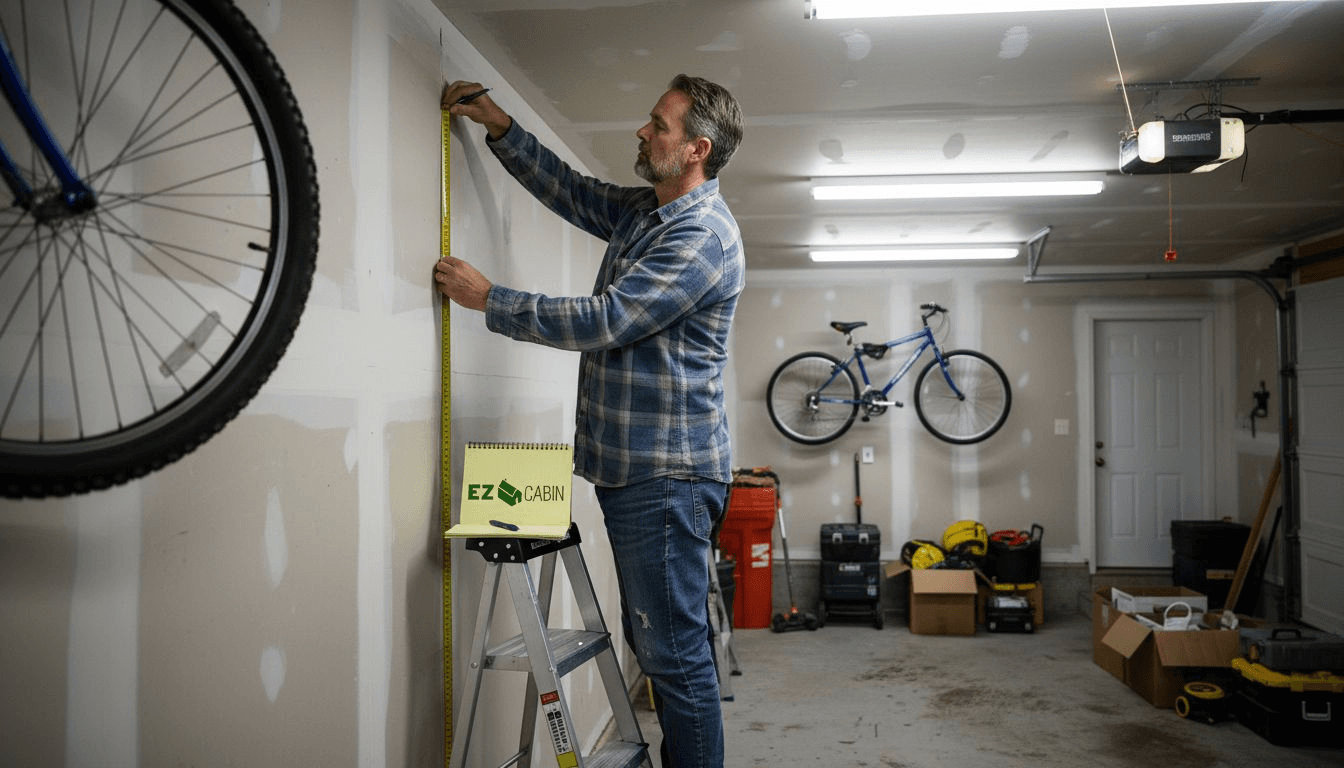
Before you break ground on an expansion, take time to honestly evaluate what you have and what you actually need. This foundation determines whether your project succeeds or turns into an expensive detour.
Start by measuring your existing garage space. Know the exact square footage, ceiling height, door dimensions, and any structural limitations like load-bearing walls or utility lines. Take photos from multiple angles so you have a clear visual reference when planning. Don't skip this—guessing creates costly mistakes later.
Next, identify how you're using your garage today. Is it primarily for vehicle storage? A workshop? Seasonal equipment? A combination of everything crammed in until you can barely move? Be honest about the pain points. Maybe your tools are scattered across shelves you can't reach, or you store holiday decorations that consume half the space.
Now comes the goal-setting phase. When you break larger ambitions into specific, actionable steps, your expansion becomes manageable rather than overwhelming. Ask yourself what success looks like:
- Do you need dedicated workshop space with a workbench?
- Are you storing vehicles, ATVs, or motorcycles that need climate control?
- Should the expansion handle seasonal inventory like lawn equipment?
- Do you want room for future hobbies like woodworking or auto repair?
- Is organization and accessibility your main frustration?
Prioritize these needs. You can't fix everything at once, and trying to do so drains budgets fast. For Kentucky and Ohio homeowners, consider climate too—humidity and winter weather affect insulation, ventilation, and material choices.
Setting concrete, measurable goals prevents scope creep and keeps your project aligned with what actually matters to you.
Once you know your current conditions and your target state, sketch a rough layout. This doesn't require an architect—just identify where the expansion could attach to your existing garage, how it affects your driveway or property line, and whether utilities need relocation. Local building codes in Kentucky and Ohio have specific setback requirements, so research those too.
Documenting everything now—measurements, photos, a list of priorities, and rough sketches—gives you a solid starting point. You'll reference this information in every decision moving forward.
Pro tip: Take video walkthroughs of your current garage, narrating what frustrates you and where you store items. Watching this later, you'll spot inefficiencies you might forget when planning, and it keeps your vision realistic instead of idealized.
Step 2: Design Your Expansion and Obtain Permits
With your goals clearly defined, it's time to create a functional design and navigate the permit process. This step protects your investment and ensures your expansion meets local codes.
Start by sketching your expansion layout. Where will it attach to your existing garage? How much additional square footage do you need? Consider door placement, window positioning for natural light, and how the addition flows with your current space. You don't need professional blueprints yet—rough drawings help you visualize the project.
Next, research your local building codes. Kentucky and Ohio have different requirements for setbacks, foundation depth, roof pitch, and electrical systems. Contact your county's building department to understand zoning and building code requirements specific to your property. Many departments offer free consultations or online resources.
Once you understand the regulations, decide whether to hire an architect or contractor to finalize designs. For simple expansions, a contractor experienced in garage additions may suffice. For complex work or custom layouts, professional design services ensure compliance and optimize functionality.
Now comes the permit application. This isn't optional—unpermitted work creates serious problems:
- Inspection failures when you sell your home
- Insurance complications if damage occurs
- Fines and forced removal of non-compliant work
- Difficulty obtaining financing for future projects
Gather required documents, which typically include property surveys, site plans, electrical and structural drawings, and proof of property ownership. Your local building department provides a checklist. Submit applications with all documentation complete—incomplete submissions delay approval significantly.
The permit review process usually takes 2 to 6 weeks, depending on your jurisdiction's workload. Once approved, you'll receive your permit and inspection schedule.
Meeting code requirements during design saves thousands in rework and prevents legal headaches later.
Scheduled inspections occur at key construction phases—foundation, framing, electrical, and final. Each inspection must pass before moving to the next phase.
Pro tip: _Request a pre-construction meeting with your building inspector to walk the site and discuss their expectations for your specific project. This conversation prevents surprises during inspections and clarifies exactly what they're looking for.
Step 3: Prepare Site and Secure Financing Options
With permits approved, you're ready to prepare your site and arrange funding. These two tasks run parallel and deserve equal attention to keep your project on schedule.
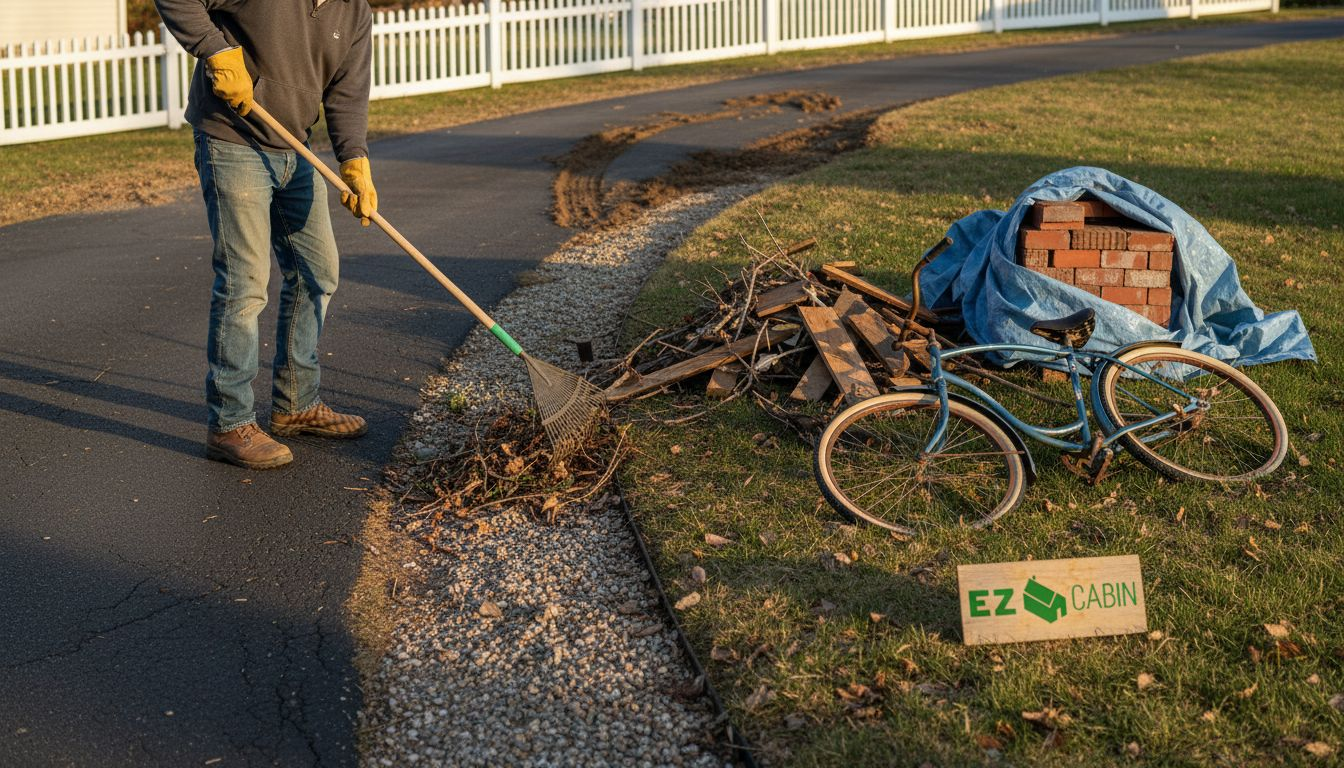
Start site preparation by clearing the expansion area. Remove debris, gravel, vehicles, or equipment blocking the workspace. Mark utility lines—water, gas, electric, and sewer—before any digging begins. Call your local utility locating service (811 in most areas) to mark underground utilities. This prevents costly damage and dangerous accidents.
Next, assess ground conditions. Is the soil stable? Does the area drain properly or collect water? Poor drainage causes foundation problems later. If your site slopes or has drainage issues, plan for grading or a drainage system before construction begins.
Now shift focus to financing. Garage expansions cost between $3,000 and $15,000 depending on size and complexity. Understand your financing options and available programs before committing to a contractor.
Common financing paths include:
- Home equity loans using your home as collateral for a fixed rate
- Home equity lines of credit providing flexible access to funds as needed
- Personal loans requiring no collateral but typically higher rates
- Contractor financing through partnerships with lenders
- Rent-to-own programs allowing you to spread costs over time without traditional credit checks
For Kentucky and Ohio homeowners, rent-to-own options eliminate the credit check burden entirely. You secure guaranteed approval, pay only a down payment upfront, and handle remaining costs through monthly payments.
Compare total costs across options. Don't focus only on interest rates—consider fees, payment terms, and how quickly you need funds. Getting preapproved for financing before selecting a contractor strengthens your negotiating position.
Here's a quick comparison of popular garage expansion financing options:
| Financing Method | Approval Speed | Typical Interest Rate | Key Benefit |
|---|---|---|---|
| Home Equity Loan | 1-3 weeks | Low to moderate | Fixed rates, tax deductible |
| Home Equity Line | 1-2 weeks | Variable | Flexible borrowing |
| Personal Loan | Days to 1 week | Moderate to high | No collateral required |
| Contractor Financing | Varies by provider | Low to high | Streamlined process |
| Rent-to-Own | Within days | May be higher | No credit check, quick setup |
Arranging financing before construction prevents work delays and budget surprises mid-project.
Contact your financing provider about disbursement schedules. Most release funds in stages tied to construction milestones, protecting both you and the lender.
Pro tip: _Request written cost estimates from at least three contractors before finalizing financing, then match your loan amount to confirmed project costs rather than guessing.
Step 4: Build the Garage Addition Step by Step
Construction begins once your permits are posted and site is ready. Following the proper sequence prevents costly mistakes and keeps inspectors satisfied at each phase.

Start with foundation work. Excavate to the required depth based on local frost lines and soil conditions. Kentucky and Ohio typically require 3 to 4 feet below grade depending on location. Pour concrete footings, then a concrete slab or stem wall. This foundation must be level and square—poor foundation work cascades into framing problems.
Once the foundation cures (typically 7 days), begin framing. Build the wall structure using pressure-treated lumber for the bottom plate where it contacts concrete. Frame walls on the ground, then raise them into position. Install headers above door and window openings to support the load. Understanding proper framing techniques and sequencing ensures structural integrity throughout construction.
Framing progresses in this order:
- Bottom and top plates on foundation
- Vertical studs at proper spacing (typically 16 inches apart)
- Headers and window frames
- Roof trusses or rafters
- Roof sheathing and underlayment
After framing inspection passes, install roofing. This protects the structure from weather during remaining work. Use quality roofing materials—asphalt shingles, metal, or other options matching your existing garage. Proper ventilation prevents moisture buildup under the roof.
Next comes electrical and utilities. Have a licensed electrician run wiring, install outlets, and connect to your main panel. Your permit requires electrical inspection before you close walls. Similarly, handle any plumbing or HVAC needs now, while walls are open.
Then close the walls with insulation and drywall. This phase transforms the rough structure into finished space. Tape, mud, and sand drywall joints for a smooth surface ready for paint.
Each construction phase requires inspection before moving forward—don't skip steps to save time.
Finally, complete finishing work. Paint, install trim, add flooring, and hang doors. These final touches make the space functional and visually cohesive with your existing garage.
Below is a summary of key garage addition construction phases and what inspections focus on:
| Phase | Main Work Completed | Key Inspection Focus |
|---|---|---|
| Foundation | Excavation, concrete | Depth, drainage, reinforcement |
| Framing | Walls, roof framing | Structural integrity |
| Roofing | Shingles, ventilation | Weatherproofing, airflow |
| Electrical | Wiring, outlets | Code compliance, safety |
| Final | All finishes, systems | Overall code, safety, permits |
Pro tip: Take photos at each inspection milestone showing code compliance, then file them with your permit paperwork. This documentation proves proper construction if you ever need it for insurance or resale.
Step 5: Inspect and Finalize Your Expanded Garage
As construction nears completion, inspections ensure your expansion meets code requirements and functions safely. This final phase protects your investment and prepares the space for use.
Your building department schedules the final inspection once all work is complete. The inspector examines structural integrity, electrical systems, plumbing, ventilation, and overall code compliance. Understand what structural condition surveys evaluate so you know what the inspector will assess during their walkthrough.
Before the official inspection, conduct your own walkthrough. Check these items:
- Are all electrical outlets and switches properly installed and functional?
- Do doors and windows open smoothly without gaps?
- Is insulation properly installed throughout walls and ceiling?
- Are all drywall seams finished and ready for paint?
- Is ventilation working to prevent moisture accumulation?
- Are floor surfaces level and properly finished?
Address any issues before the inspector arrives. Small fixes now prevent inspection failures that delay your certificate of occupancy.
Once the final inspection passes, you receive a certificate of occupancy or completion permit. This official document proves your expansion meets all building codes. Keep this paperwork with your mortgage and homeowner's insurance documents.
Now complete the remaining finishing touches. Paint walls and ceilings, install trim and baseboards, add flooring if needed, and hang garage doors or entry doors. Organize the space according to your original goals—set up workbenches, storage systems, or vehicle parking areas.
A passed final inspection gives you legal proof that your expansion is safe and code-compliant.
Test all systems thoroughly. Verify electrical circuits work properly, check that new doors seal tightly, confirm ventilation removes humidity, and ensure any new utilities function as intended. Run the space for a week, then make final adjustments based on how it actually performs.
Document the completion with photos of finished work from multiple angles. These images prove the expansion's condition for insurance purposes and future resale.
Pro tip: Obtain and file the final permit paperwork, inspection report, and all contractor warranties in a dedicated folder, then photograph these documents and store copies digitally—you'll need them if you ever sell or file an insurance claim.
Unlock More Space Effortlessly with EZ-Cabin Solutions
Planning to expand your garage to gain workshop space, improve organization, or store more vehicles is a smart move but can quickly become overwhelming when juggling permits, site prep, and financing. This guide highlights the challenges of assessing needs and navigating construction steps—issues EZ-Cabin is built to solve with modern convenience. Instead of a complicated expansion project, consider a high-quality portable garage designed to fit your goals, whether you want space for seasonal equipment, hobbies, or extra storage.
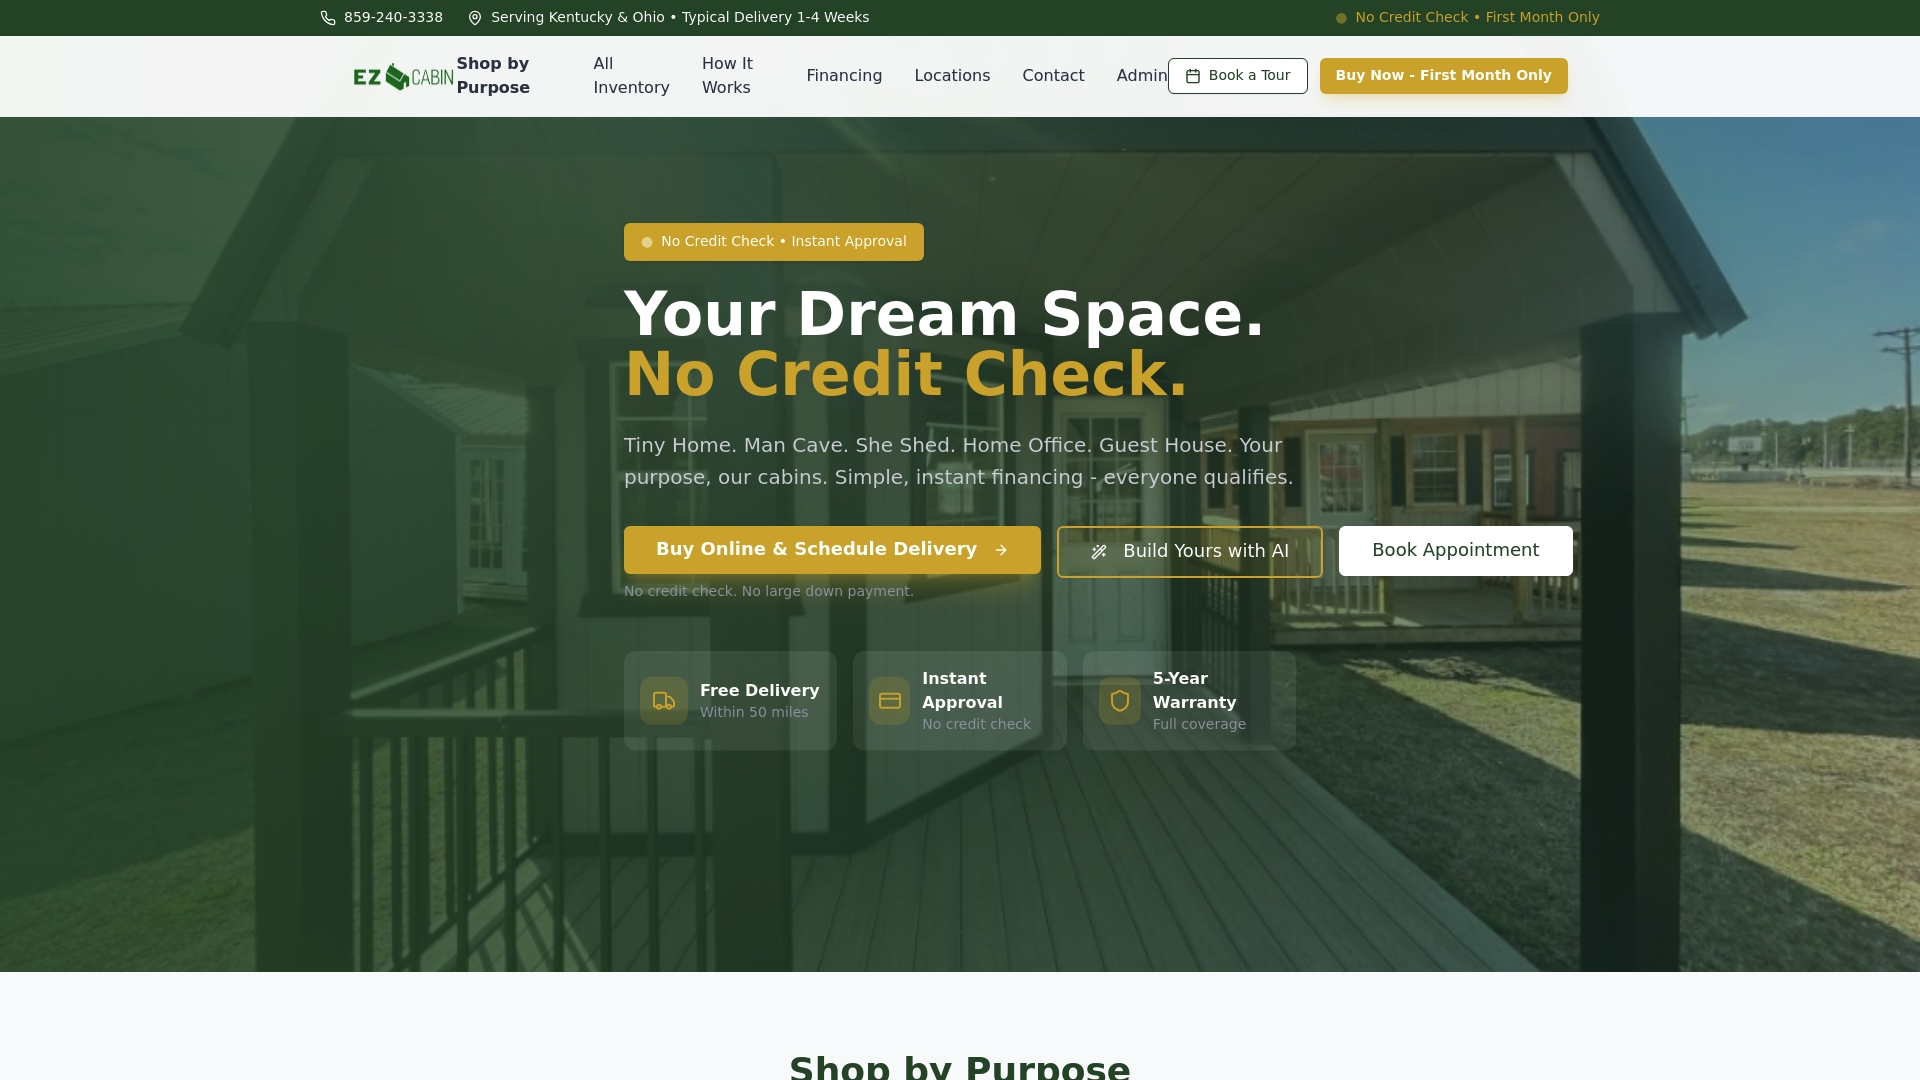
Take control of your garage space today by exploring EZ-Cabin’s AI-powered customization tools that let you visualize and tailor your building in real time. Enjoy guaranteed financing approval with no credit check and just the first month’s payment needed to get started. Whether you order online or visit our Kentucky locations, you can complete the entire process smoothly at EZ-Cabin. Transform your property quickly without the hassle of permits or extended construction timelines. Act now to secure your portable garage and reclaim your space with easy financing options available instantly on our website.
Frequently Asked Questions
How do I assess my current garage space before expanding?
To assess your current garage space, measure the square footage, ceiling height, and door dimensions. Take photos from multiple angles and identify how you're currently using the space, noting any pain points, which will help you set clear goals for your expansion.
What goals should I set for my garage expansion?
Set specific goals based on your needs, such as creating a dedicated workshop, providing climate control for vehicles, or improving organization. Prioritize these needs to manage your project effectively and ensure a successful expansion.
How can I design my garage expansion?
Start by sketching a rough layout to visualize the expansion's dimensions and where it will attach to your existing garage. Consider door and window placements for functionality and comply with local building codes to ensure your design meets all requirements.
What financing options are available for a garage expansion?
Common financing options for garage expansions include home equity loans, personal loans, or contractor financing. Assess your total project costs and compare options to find the best financing path for your specific needs, ensuring your budget aligns with your expansion goals.
What steps should I follow during the construction of my garage expansion?
Follow key steps including foundation work, framing, roofing, electrical installation, and finishing touches. Ensure each step passes inspection before moving to the next phase, which helps prevent costly delays and ensures code compliance.
How can I ensure my expanded garage passes the final inspection?
To ensure your expanded garage passes the final inspection, conduct a thorough walkthrough to verify all electrical systems, insulation, and finishes are in place and up to code. Address any issues you find before the inspector arrives to avoid delays in obtaining your certificate of occupancy.